by admin | Feb 13, 2021 | Inspiration
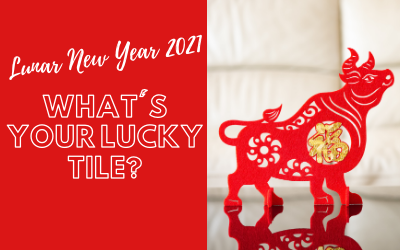
Happy Lunar New Year! Gong Xi Fa Cai! We’re not handing out red envelopes this Chinese New Year, BUT we’re ready to give you a glimpse of your 2021 forecast based on your zodiac sign! With all the events that transpired the previous year, 2021 looks...

by admin | Aug 31, 2020 | Inspiration
Coffee with a Mission! We’re always grateful when we see our cement tiles used in restaurants, hotels, and coffee shops around the country. But there’s one particular place that recently stole our hearts. Inclusion, diversity, & some really great coffee – we...
by admin | Jul 2, 2020 | Inspiration
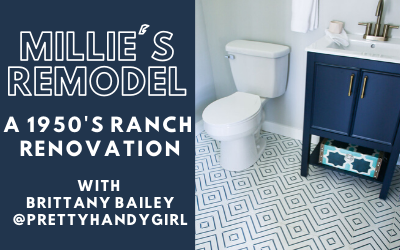
Our favorite female contractor is back with a new project underway! Brittany Bailey, aka Pretty Handy Girl, chose to use two of our cement tile designs to tile the bathroom floors in her newest home renovation project – Millie’s Remodel! After stripping the...

by admin | Jun 19, 2020 | Inspiration
Introducing our new Designer Spotlight series, where we meet inspirational designers in our industry and share some of their great work. First up is the fabulous Tamela Bowie of Tamela Bowie Interiors. We first got exposed to Tamela’s work about a year ago thanks to...

by admin | Jun 10, 2020 | Inspiration
Looking for the perfect DIY project to get you through the long summer days? We recently paired with DIY Enthusiast Summer Scott to bring you this DIY Cement Tile Mirror. A great way to add some spice to a simple and inexpensive mirror. Check out the final product on...
by admin | Aug 21, 2018 | Inspiration
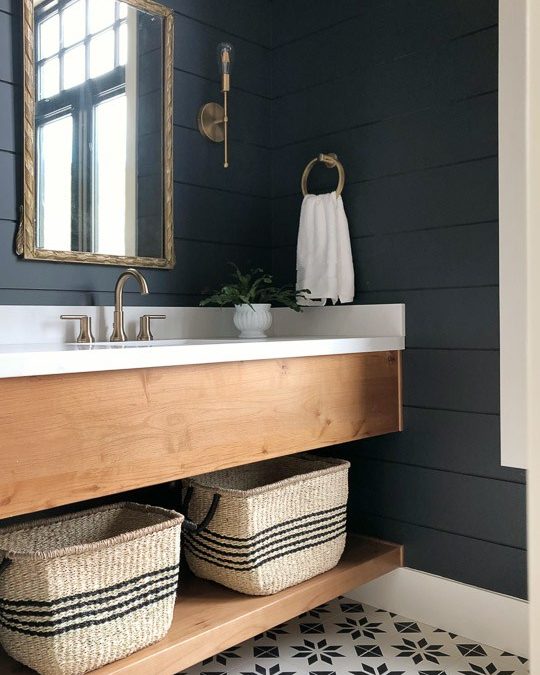
We recently partnered with Kathleen of Lindsay Hill Interiors to bring you this truly mesmerizing installation of our Stella 1. We love all the little details, which were selected by Kathleen herself and do a great job of adding to the overall charm of this pretty...
by admin | Apr 19, 2018 | Quick Fixes
We know the feeling – sparkling new tiles, freshly installed, not a single speck of dirt and just when you think they’ll stay perfect forever, life happens. Muddy shoes, dirty paws, and all sorts of spills, it happens to the best of us. That’s why...
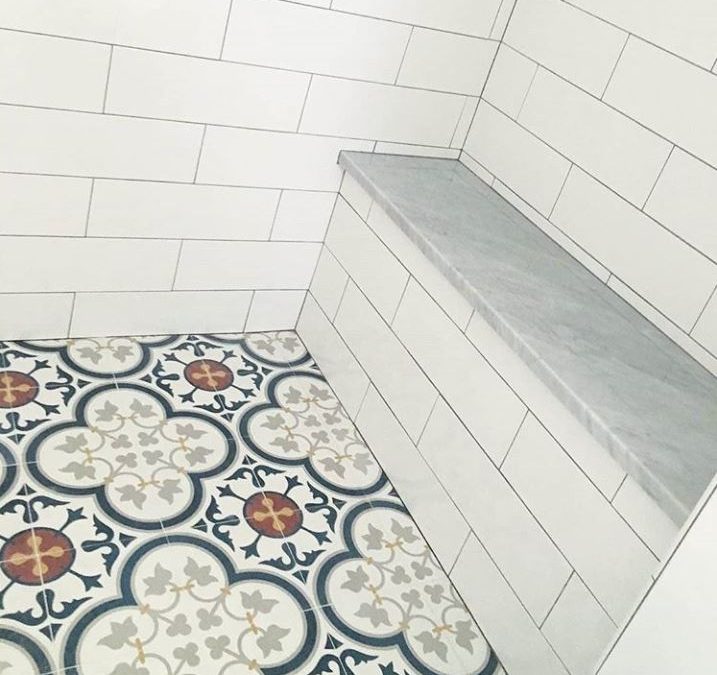
by admin | Apr 3, 2018 | Installation Tips
Lather, rinse, repeat! Did you know you can install LiLi cement tiles right in the shower? It’s true! They’re perfect in any wet or dry location (besides inside the pool) and they’re totally fun to look at while shampooing! Forget the shower pan and...
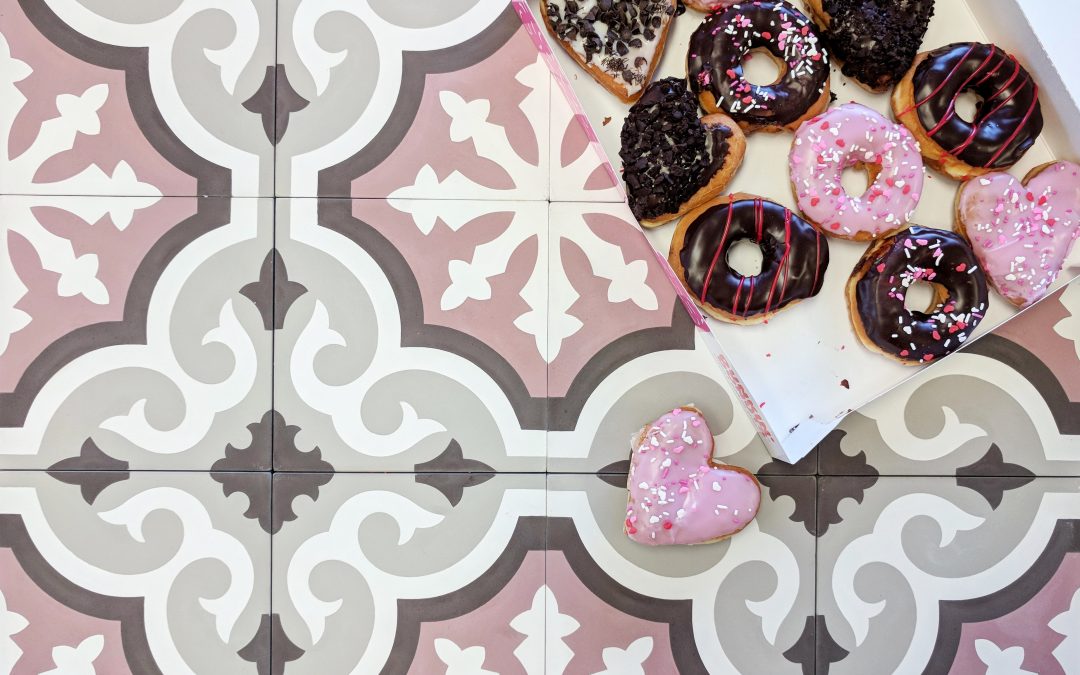
by admin | Apr 3, 2018 | What's New?
Who could have ever imagined that one day it would be socially acceptable to have pink floors? Whether it’s your dream come true or your worst nightmare, pink floors are happening and we’re jumping on the bandwagon! In addition to our delicate Belle &...
by admin | Nov 15, 2016 | Quick Fixes
Your new floor has just been installed and before long, the inevitable strikes. Scratches and skid marks cover your once perfect tiles making your blood boil every time you walk across the room. Don’t just live with it, do something about it! In the video below,...
Recent Comments